
Table lamps are a wonderful way to brighten up a room, whether they’re used as reading lights in a bedroom or living room, or even as decorative accents. They are easy to reposition, adding hozodesign elegance and sophistication to your home, office or apartment. They also help to highlight any other furnishings you may have and bring out the beauty of a design. They are available in a variety of styles and sizes, making it simple to find one that complements your decor, without overtaking the space.
The most common type of table lamp is the standard lamp, which features a lamp shade that covers the bulb to prevent glare and protect the lamp’s finish. These types of table lamps come in a wide array of colors, from neutral tones to bolder shades that make a statement in any room. They can be fitted with screw-in LED, fluorescent or incandescent bulbs.
Another popular type of table lamp is the buffet lamp, which has a more sculptural appearance and typically includes multiple pieces of stained glass arranged in a decorative pattern to produce beautiful colored light. These types of table lamps are often referred to as “Tiffany” tables and can become family heirlooms.
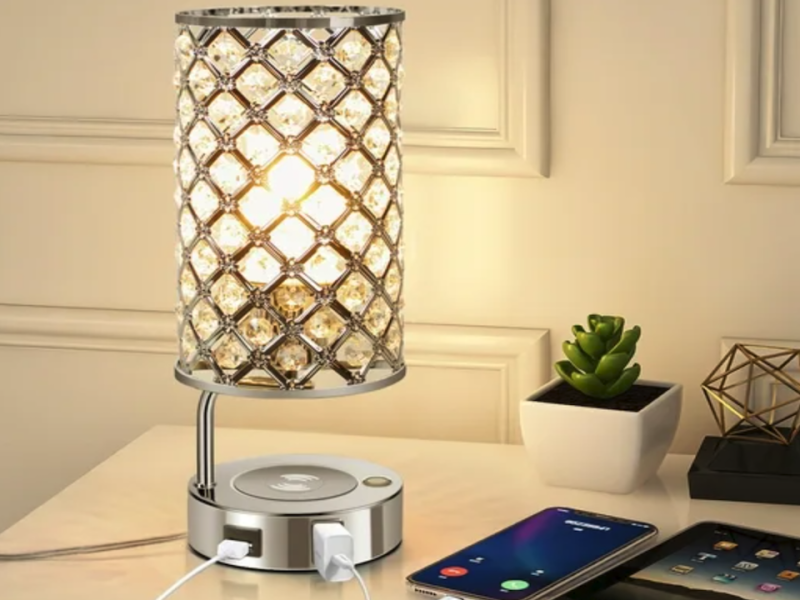
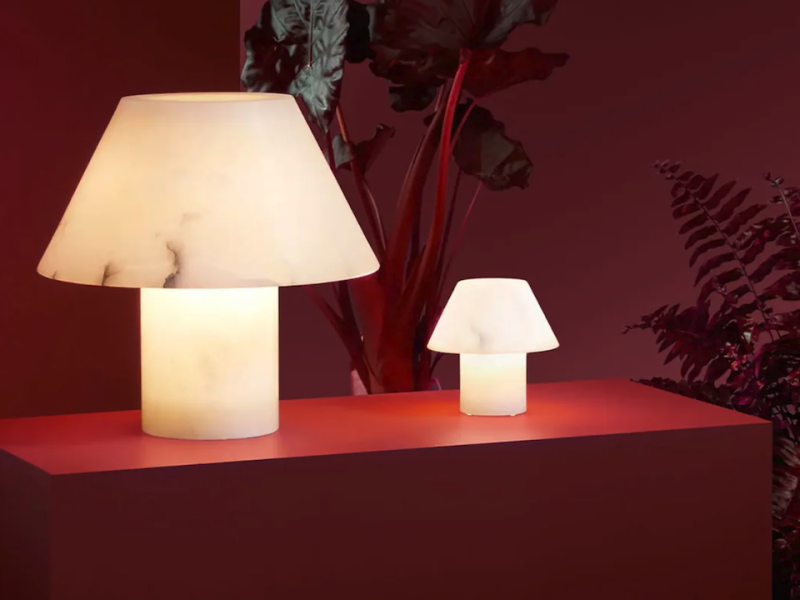
Other table lamps have a more modern look, with sleek and elegant bases that connect to the rest of the room’s decor. These can be made from metal or wood, with an array of finishes to match any style of furniture. They can be used to illuminate any part of a room, but are most commonly placed in an area where you will be working or studying, as they provide more focused lighting than a typical floor lamp.
When constructing your own table lamp, the first step is to decide on its base. The best base for your lamp is usually a sturdy hollow part that can support its weight and still fit underneath the lampshade. A standard table leg is an option for this, but you can also use the bottom of a bookcase or a piece of solid furniture.
After selecting the desired base, the next step is to make a tenon for the body to attach to it. This can be done using a lathe by cutting a tenon in the top of the blank and then removing it, or it can be done with a saw. Both ways require the use of a tool to create the final diameter and then a jig to make sure it’s perfectly straight (see Photo 5). The knurl nut that holds the rod in place is screwed onto the bottom end of this channel, so check that it is tight enough that the cord will not get pinched when the lamp is set upright.
When the knurl nut is tightened, the neck is then slid on and centered on the check ring. The final piece to screw on is the socket cap, which has a side outlet for the cord.